| ||
|---|---|---|
Elder God(s) |
Volkerh | |
Health Items(s) |
15 | |
Armor Items(s) |
3 | |
Cooldown Items(s) |
22 | |
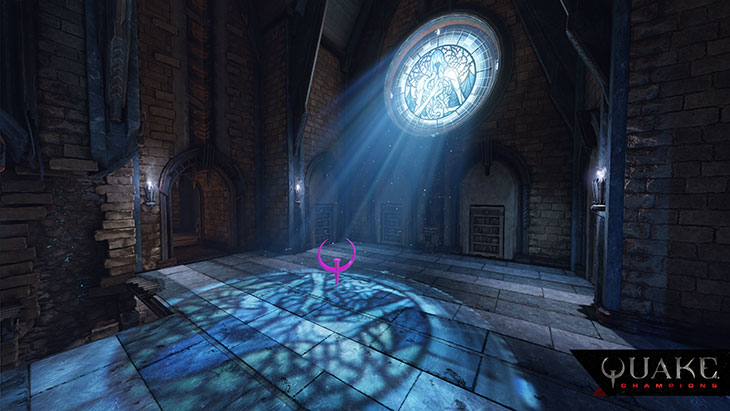
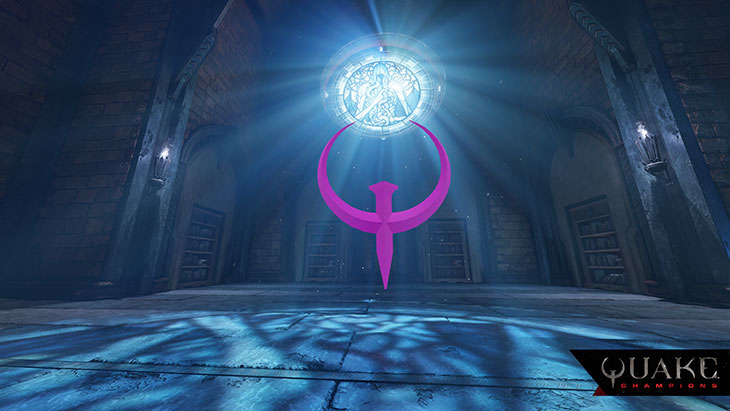
Faceless monks tend its onyx-lined sluiceways, lest even a gobbet of the celebrants’ ichor should fail to reach their Ravening Shepherd.
Blood Covenant is an arena in Quake Champions. Blood Covenant was added during Closed Beta on April 6, 2017.[1]
Announcement[ | ]
Based on The Camping Grounds map (Q3DM6) from Quake III Arena, Blood Covenant is a modern reimagining of a classic fan-favorite, complete with familiar sections like the long Jump Pad to the Rocket Launcher, the Railgun ledge, and the tightly spaced Pillars, which will require careful maneuvering for all Champions.
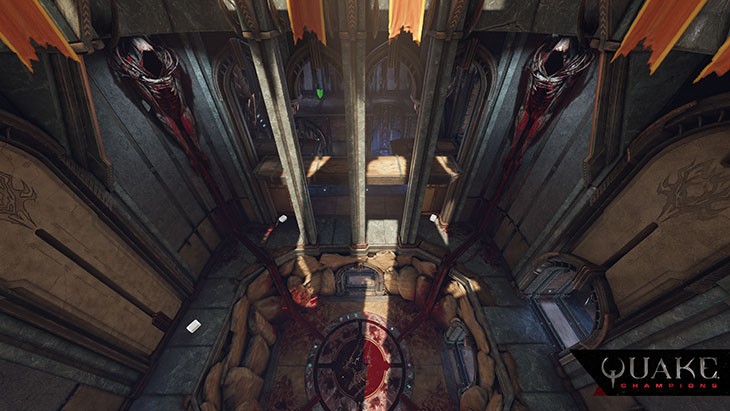
But Blood Covenant will contain plenty of new secrets and surprises, too. If you find yourself in need of a little health, try standing in the giant blood pool in the center of the Arena. Sure, it’s macabre, but you’ll get some of that much-desired health back. Just don’t linger for too long, as you’re in a very vulnerable position when you’re in the blood pool.
If you’re less worried about health, and more concerned about finding a good, tactical position in the map, check out the Pillar room. One of the pillars stands much taller than the rest, and would certainly be a good spot for Ranger to toss his Dire Orb and gain the high ground.[2]
Areas[ | ]
Blood Covenant has the following areas:
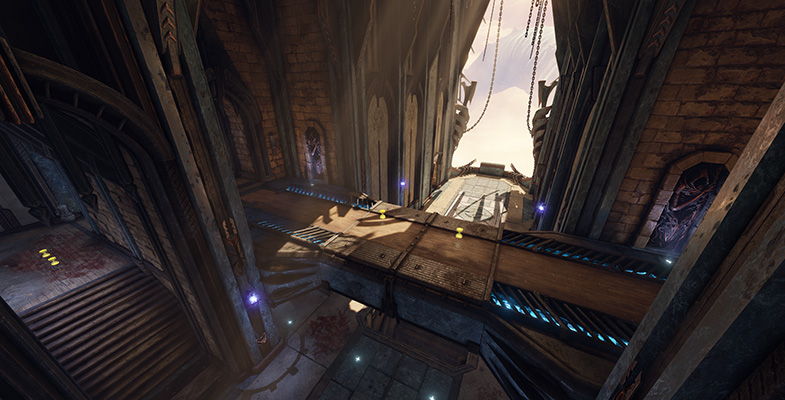
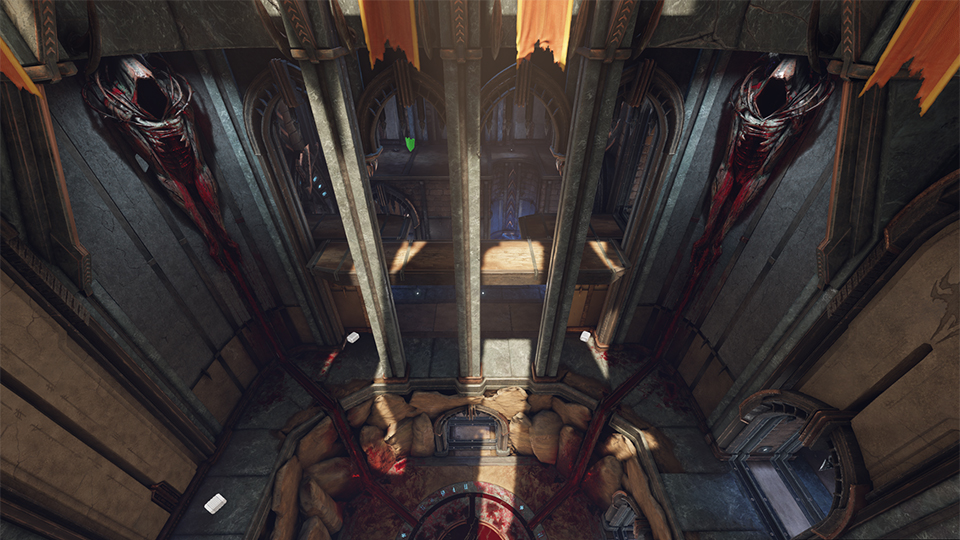
The Bridge[ | ]
Combat on the bridge consists of players using the high ground to shoot down on the players on Balcony, while also defending against an influx of players from the lower Catacombs. In Sacrifice this becomes a difficult point to maintain control of, unless your team utilizes the side balconies to provide cover and flank attackers.
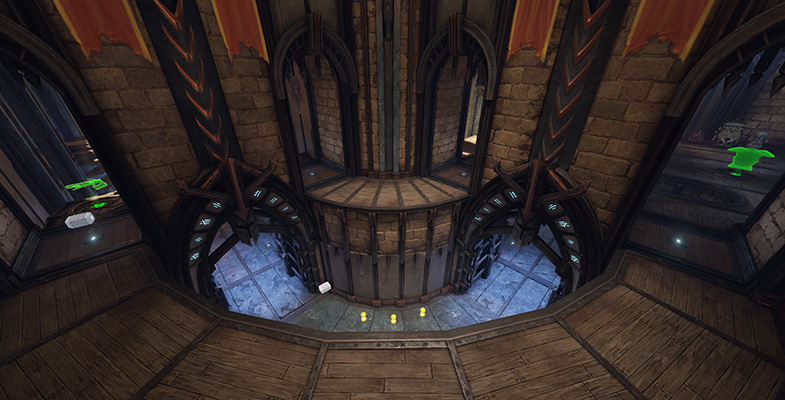
The Balcony[ | ]
Flanking the Obelisk are two balconies that connect to the bridge room, breaking up a chokepoint by providing entrances from the stairs, and from the Super Nailgun alcove. These areas are exposed to the open world, so knockback from splash damage will knock you into the void.
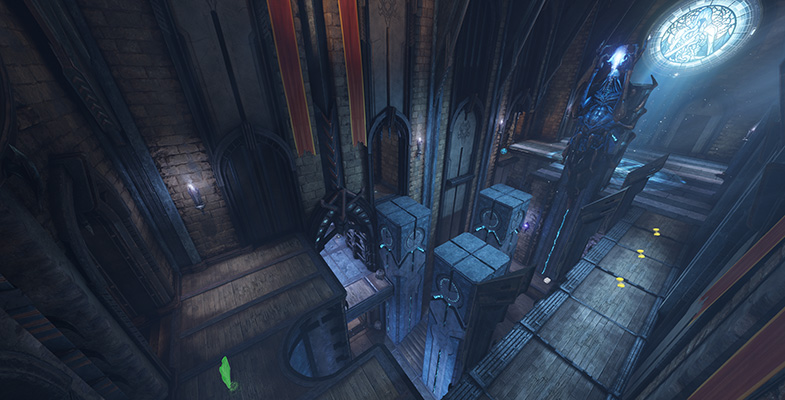
Rail Curve / Banana[ | ]
Controlling this hall will grant the defender easy access to both the Railgun and Mega Health (In Deathmatch) or Heavy Armor (In Sacrifice). This defender can then act as a gatekeeper, sharing access to these two items with their teammates when the defender has a large enough armor stack of their own to maintain control. When players defending this hall are challenged, one often has to seek an escape route downward to the mid-level or fall all the way to the Catacombs.
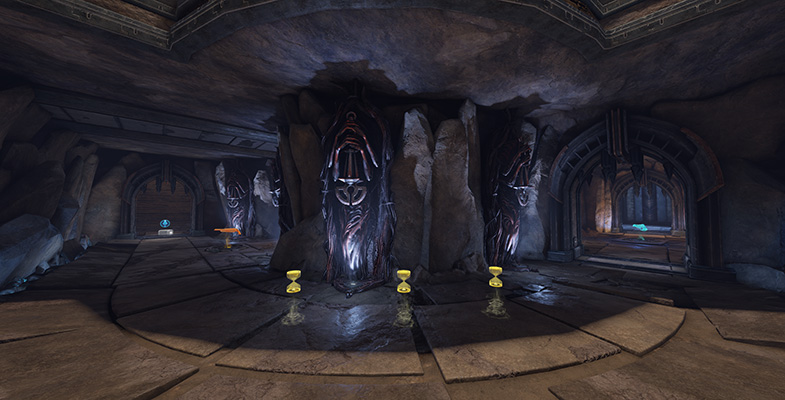
Catacombs[ | ]
When action becomes too intense, the Catacombs are a great place to recharge or briefly hide out away. The hourglasses in the curve are great for restoring your Active Ability, but the most important item is the Lightning Gun, a vital weapon for skilled players. The trip to the depths of the Catacombs is well worth the challenge of working your way back up. This area will get a lot of action with players feeding in from the Blood Pool or dropping down from the Rail Curve.
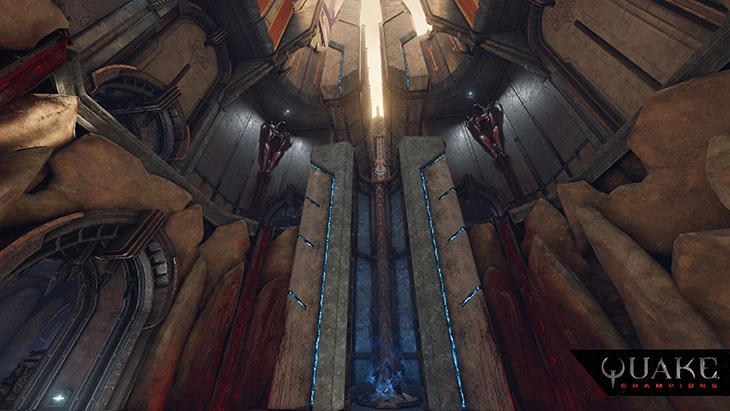
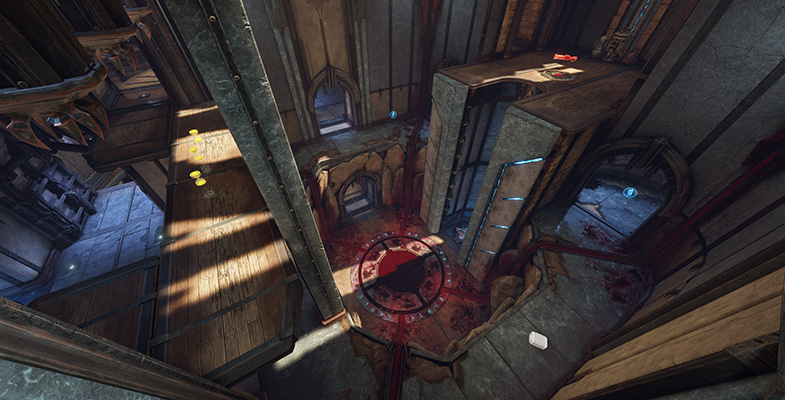
Blood Pool / Pool[ | ]
The central HUB of the map, players in this area are susceptible to Railgun fire due to it being a large open area that connects to all main areas. It is common for players controlling the Rail Curve to fire across this main room picking off players moving from Bridge to Pillars or vice versa. Players who utilize the rocket jump pad take a huge risk of being railed from near the Mega Health (DM) / Heavy Armor (Sacrifice), or risk Rocket and Shotgun fire from the high ground. This is often a necessary risk that will reward players with the high ground, rocket launcher, and access to the Bridge or the Upper Pillars.
Pillars[ | ]
Across either the precarious pillars or the walkway along the wall lies a larger open fighting area behind the Statue of M’yriah. This high ground is very important as it is where the power-up spawns. Both teams need to learn to gauge when the power-up will be spawning and position themselves so that they may be in the area just before it becomes available. Your team controlling the power-up is vital to maintaining control of the game or turning the tide. In Sacrifice, because this room lies between the two points, it should also be self-evident that this means your team cannot simply defend the Obelisk, but must also defend the perimeter rooms to keep powerful items from falling into the hands of your opponents.